To continue following the article instructions below make sure you have completed the instructions in these 2 articles
Create your first ASP.NET project with Visual Studio 2022
Initial installation of directory tree for ASP.NET project
The article below is a continuation of the two articles mentioned above
***
Adding HTML to an ASP.NET project
In a website the main section is the part that always changes when navigating between pages, header and footer remain unchanged, put the changes in Views\Home\Index.cshtml
Paste the HTML into the Index.cshtml (located in Views\Home) file
Download the required HTML code to paste into the Index.cshtml file (Google Drive)
Substitute for <h2>Index</h2>
As the following picture
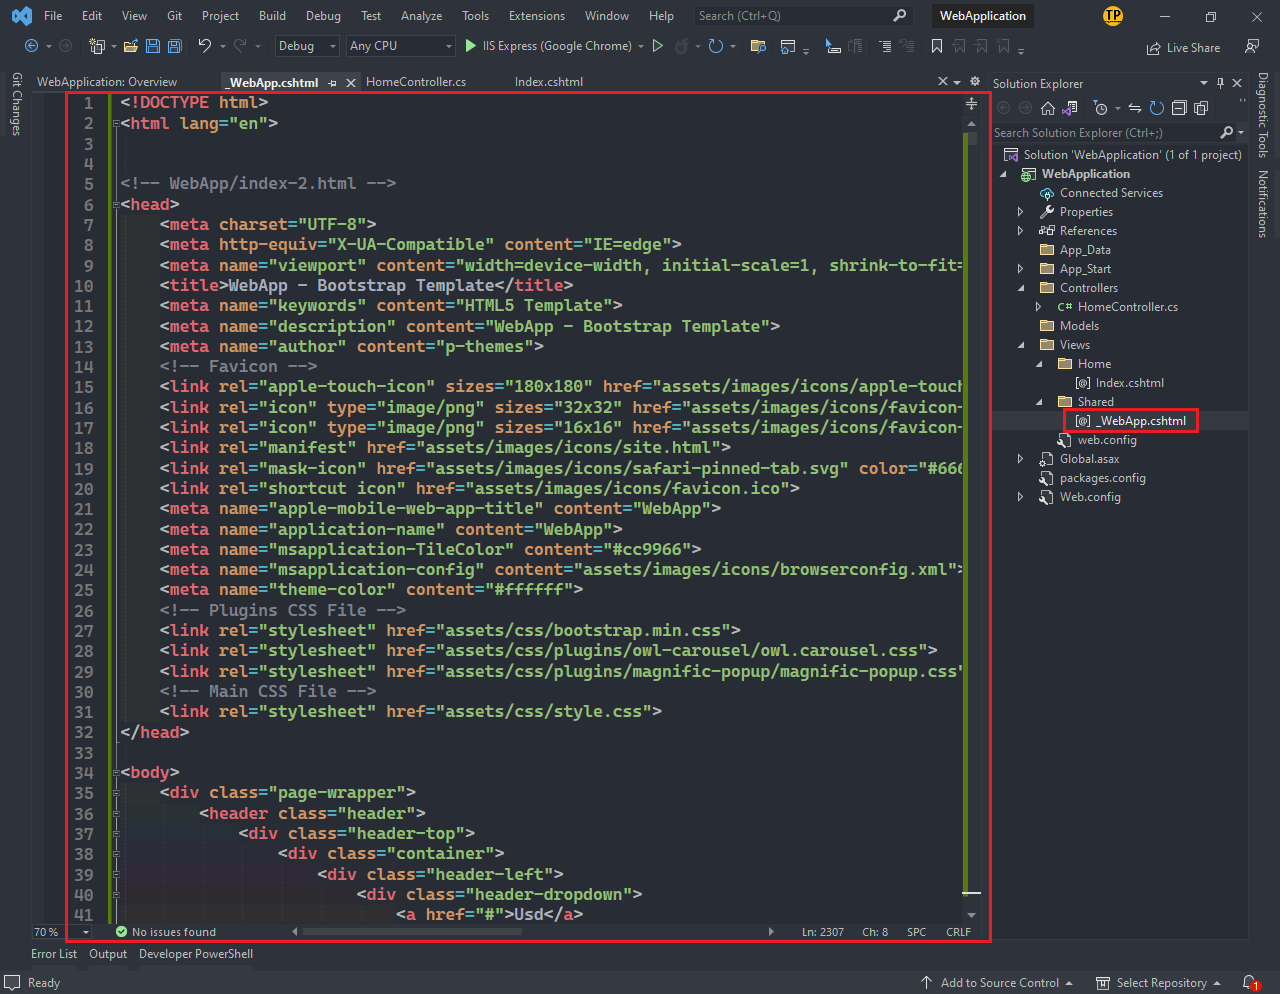
Paste the HTML into the _WebApp.cshtml (located in Views\Shared) file
Download the required HTML code to paste into the _WebApp.cshtml file (Google Drive)
Replace the whole
After pasting the HTML into the file _WebApp.cshtml
Replace HTML of main with @RenderBody() (Line 538 corresponds to main) (Because the HTML of the main part is pasted through the file Index.cshtml) (From an HTML file (original) divided into 2 parts, the HTML part of the header is pasted into the Index.cshtml file, the remaining HTML is pasted into the _WebApp.cshtml file.)
If you shorten the code line 36 corresponds to the header, line 538 corresponds to the main, line 1901 corresponds to the footer you will find it easier to do.
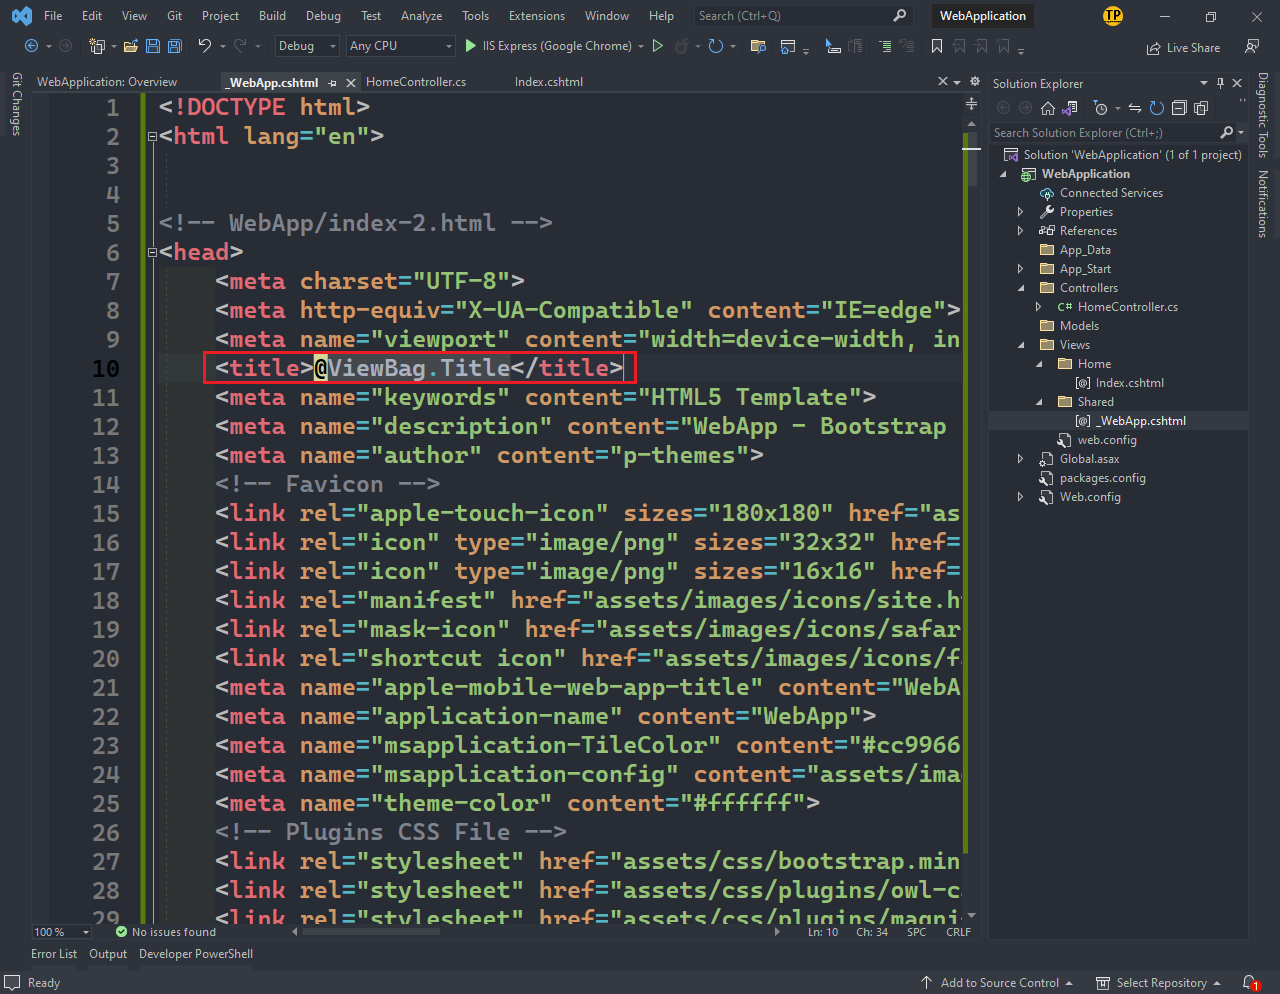
Also in the file _WebApp.cshtml
At line 10, replace the string "WebApp - Bootstrap eCommerce Template" with the keyword @ViewBag.Title
Build Solution (Ctrl + Shift + B)
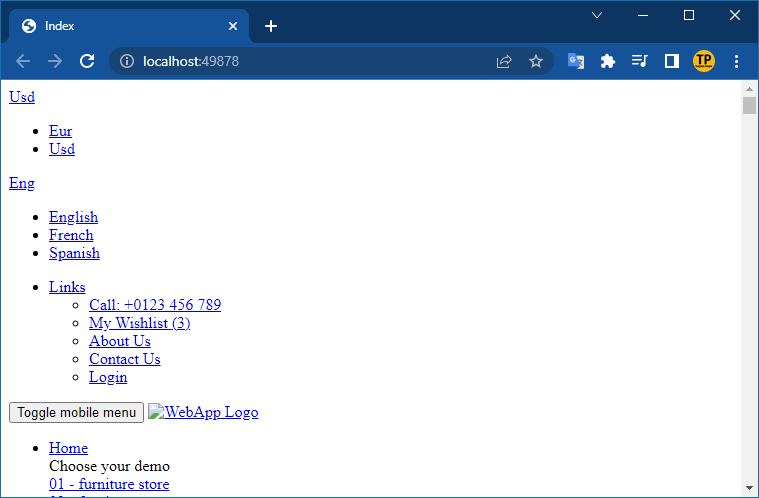
Reload the page


